

Keurig K55 Cleaning Kit
In today’s blog post, I’m going to show you the best way to clean and descale your Keurig K55 with confidence. And descale the Nespresso Breville Creatista step-by-step instructions read blog post
And access to a sink to start the Keurig K55 cleaning process.


How to Keurig K55 Cleaning
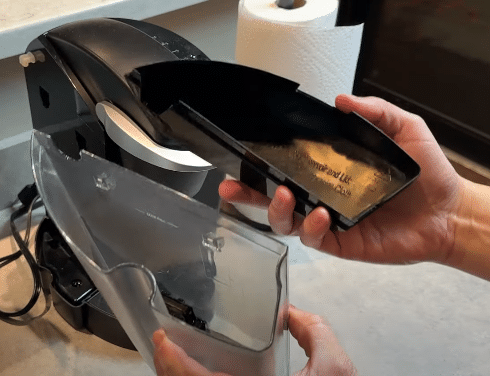
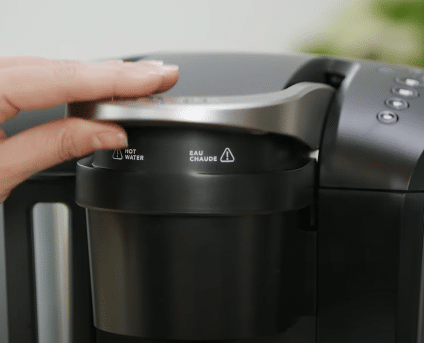
Disassemble the Keurig K55 machine by removing the reservoir and lid, the drip tray most are in two pieces, and the K-Cup holder.
You also want to remove the filter from the reservoir and set it to the side now so these items in hot, soapy water while we clean the exterior of the machine.
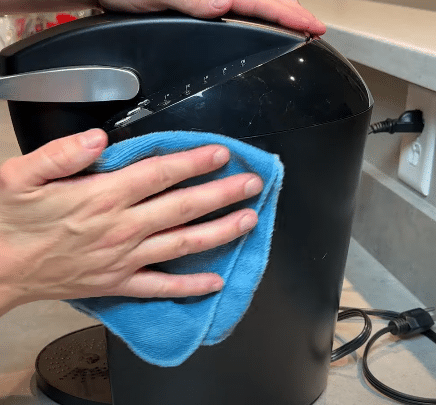
Grab a damp microfiber cloth and give the machine a good wipe down, cleaning away any grease and sticky gunk.
Use a cleaning toothbrush to scrub any hard-to-reach areas and then buff dry with a separate dry microfiber cloth.
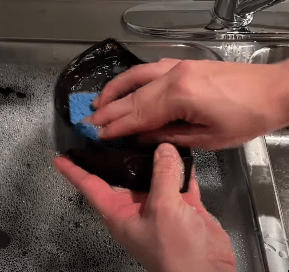
Now, hand wash all your removable parts, rinse, dry, and reassemble the Keurig K55 cleaning Process is completed.
How to Keurig K55 Descale with Vinegar
The brew lines from any mineral buildup, you need to descale your machine to start the descaling process. Make sure your water filter is still removed from your reservoir.
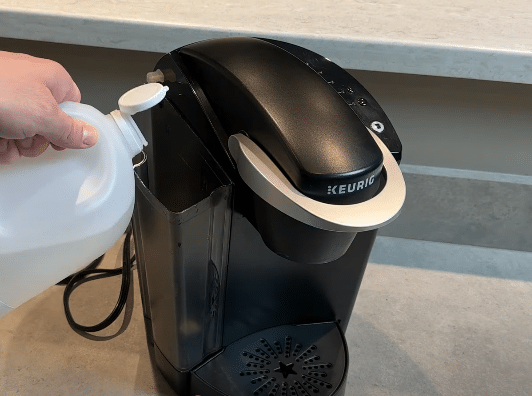
Fill up the reservoir halfway with regular distilled white vinegar and run a cleansing brew, cycle using the largest cup size
After it’s finished, pour it out with the sink and repeat this process until the reservoir then completely depleted of the vinegar.
And once again, you want to do that until the reservoir has been completely depleted. Feel free to run an extra reservoir of water.
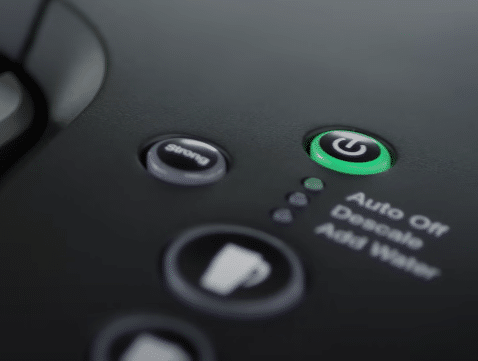
Notice
This is the notice content
Keurig K55 Cleaning Brewer Needle Kit
If you’re experiencing inconsistent brews, there may be coffee grounds stuck in your brewer’s entrance and exit needles.
In this blog post, we’ll walk you through how to properly clean your brewers’ needles and the K Pop holder.
And access to a sink to start the Keurig K55 cleaning brewer needle process.
How to Clean the Keurig K55 Cleaning Needle
The process is the same for all pure brewers and includes seven easy steps that should take about 10 minutes to complete.
Your Brewer should be turned off and unplugged. The needles are sharp, so please be careful when you follow the steps.
Start by removing the pod holder from the brewer.
by pulling on the sides until it detaches.
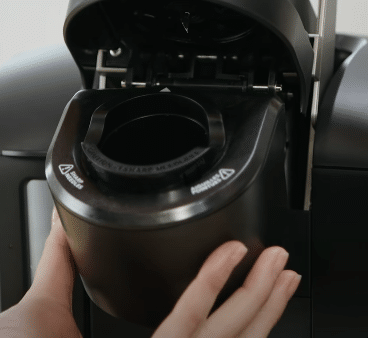
Lift the handle, cross the top of the pot holder with one hand, pushing the bottom of the pot holder from underneath with your other hand until it releases.
by pulling on the sides until it detaches.
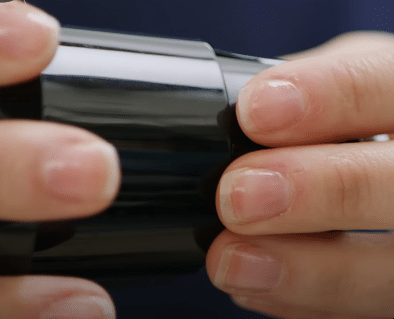
Use a Paper clip to clean the tube next. Locate the tube on the underside of the pot holder.
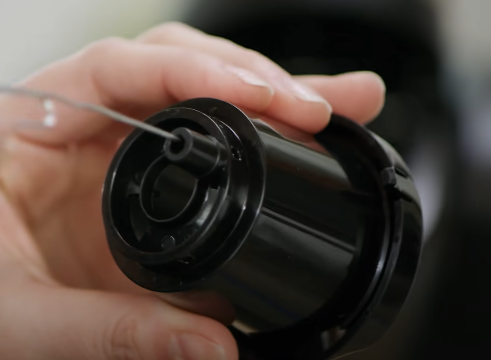
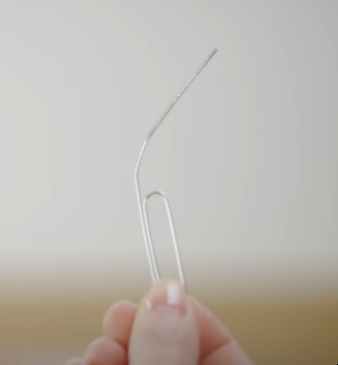
Straighten one side of your metal paper clip and insert it into the tube, moving it around to loosen any clogging and remove any particles.
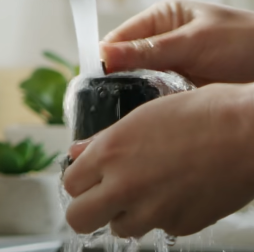
Since we have the pod already taken apart, it’s a good time to get it cleaned. Both the pot holder and funnel should be rinsed over, blending water, washing thoroughly to loosen and remove any particles.
You’re also cleaning the exit needle, which is sharp. So we might as well all of your fingers. Once complete, you can set the odd holder and funnel aside.
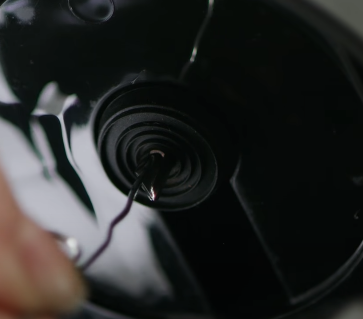
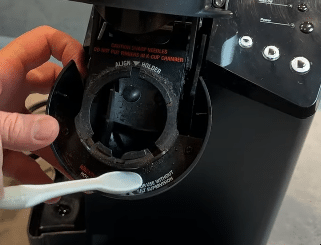
Carefully insert your metal paper clip into the two side holes of the entrance needle and gently move the paper clip around to loosen and remove any particles.
Then safely remove the paper clip and your hands or the area.
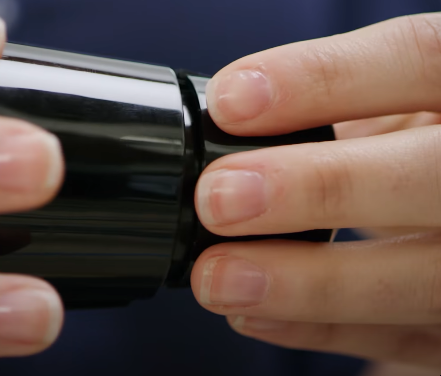
Reassemble the pod holder: Now you can put the potholder back into your brewer.
Use two hands to clip the bottle back into the pot holder by aligning the eye slots.
Then align the pod holder tabs with the opening of your brewer, placing the two front tabs on the bottom and the single tab. Snap it into place like pushing down on the top rim while holding
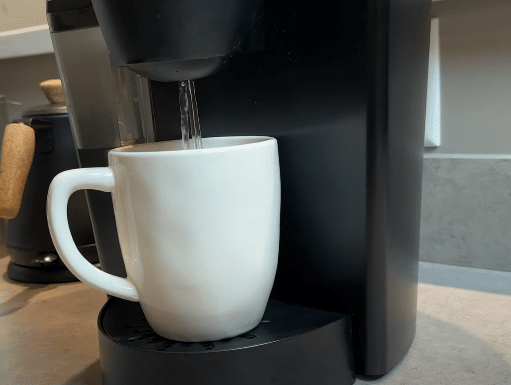
Plug & power brewer handle with the other hand. Place the mug on the drip tray, lift and lower the handle completely
Run 2 water-only brew cycles: run two water-only brews using the largest cup size. Do not insert a positive step. That’s it. Your needles are now clean, and you’re ready to brew
We’re an affiliate
We hope you love the products we recommend! Just so you know, we may collect a share of sales or other compensation from the links on this page. Thank you if you use our links, we really appreciate it!
Leave a Reply