Intro
Congratulations on your new ECM Synchronika II Espresso Machine in this Benniger guide.
You’ll learn about the parts of the machine, their functions and how to set it up quickly,
As well as how to adjust the PID menu settings and perform routine cleaning and maintenance on your machine.

ECM Synchronika II Parts and control
In the accessory box with the ECM Synchronika II single and double spout portafilter commercial
On top of the machine is a large cup warmer underneath which is access for filling the reservoir.
The front of the machine features the ECM Synchronika II E61 group, which can be outfitted with a flow control device and group head pressure gauge
On either side of the group head, dual pressure gauges read the pump pressure when you’re brewing and the pressure in a steam boiler.
The brew levers are on the right-hand side of the group head; to begin brewing in order to stop the flow of water
On the machine’s left side is a joystick valve for Steam operation. The one on the right operates the hot water wand.
Lower half of the machine, you’ll find the main power switch, neural decoder for operating the OLED PID display, and the PID display itself.
This screen shows you the current boiler temperature and doubles as a shot timer during extraction.
It also gives you access to the full programming menu
Including brew and steam temperatures,
Pre-infusion settings,
cleaning and filter reminders,
Ego mode, automatic on-off timing and more.
Information on programming
The drip tray slides out for easy emptying after an extraction.
Excess water is discharged from the coffee puck out of the lower valve
Assembly of the group, head into the drip tray
ECM Synchronika II Initial Startup
Prior to starting up, remove the pump, hold down the shipping bolt from underneath the machine.
Then, verify that the water source selection lever is fully set to the proper position.
If using a machine in reservoir mode, the valve should face the inside of the machine.
Once confirming the valve is set properly, remove the reservoir, rinse it, and verify the magnetic fill level float is mounted in the reservoir.
It looks like this: place in the machine, fill it with properly filtered water, and flip the main power switch.
Fill appears in the PID display. Place a lot of receptacles under the group head, and that’ll lift the brew lever to run the pump for at least 30 seconds.
The PID display will show you how long the pump has been on once you run the pump for at least 30 seconds, lower the brew lever, and the machine will begin heating.
The synchronica 2 has an electric capsule heating within the group.
For instructions on how to connect your machine to a dedicated water line and consult your user’s manual.
PID Menu: How to Set Up ECM Synchronika II Espresso Machine
To access the PID menu, press the decoder knob twice
Press and hold the decoder knob to put the machine in sleep mode.
Sleep Mode:
When you enter the Settings menu, Brew temperature will display on the OLED screen.
From there, rotate any color knob to scroll through the different menu Settings and press the knob to select a setting to adjust once in a setting,
rotate the knob to adjust its parameters to return to the previous menu. Wait a few seconds, and the menu automatically reverses.

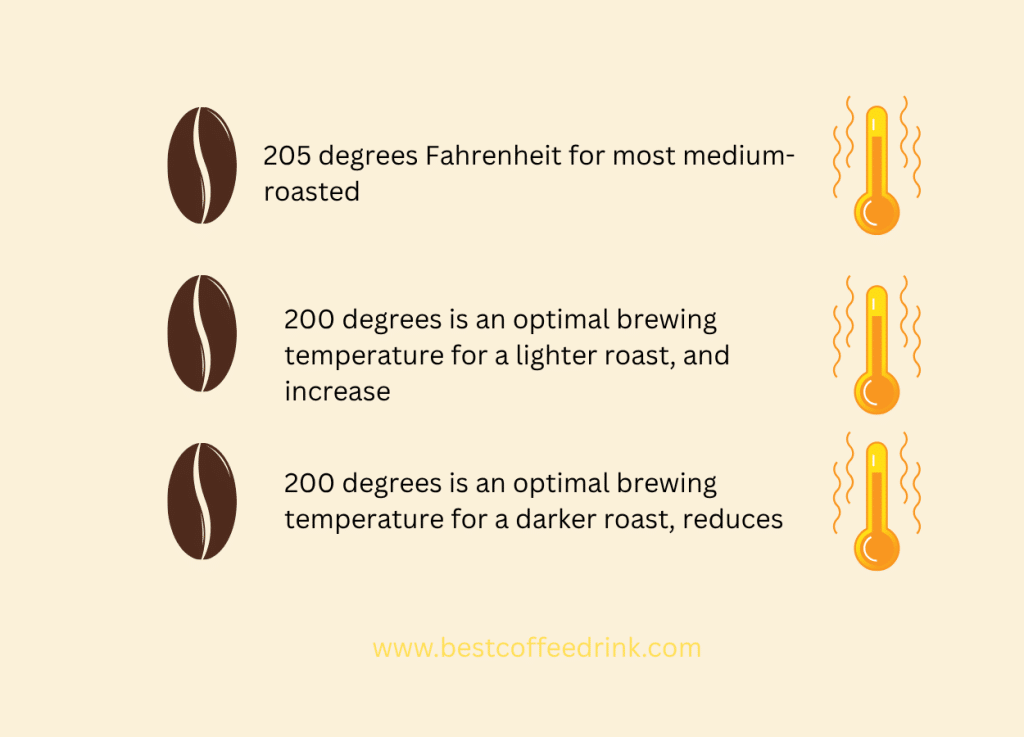
Brew temperatures are adjustable between 185 and 210 degrees Fahrenheit.
The coffee brewing temperature range is generally considered to be 195 to 205 degrees Fahrenheit for most medium-roasted coffees.
200 degrees is an optimal brewing temperature for a lighter roast, and increase
the temperature for a darker roast, reduce
it STEAM, enables the steam boiler on or off. When turned off, the steam temperature menu will be hidden.
Steam temperature can be set between 239 and 274 degrees Fahrenheit. Higher temperatures produce more steam power.
If you’re new to milk frothing, lowering the temperature gives you more time to infuse air into the milk before it gets too hot.
ECM Synchronika II Pre infusion
Automatic pre-infusion can be turned on or off. When on, it uses an active phase powered by a passive phase.
Active pre infusion time is programmable up to 10 seconds, and lets the copy using the pump for the set time when running from the reservoir following active pre infusion,
The passive pre infusion time program up to 60 seconds dictates how long the pump pauses to let the copy soak before normal brewing resumes.
Active pre infusion of three seconds and passive of seven is a good starting point for these.
Pre-infusion, when plumbed directly to a water line.
Set Active pre-infusion to off, set passive pre-infusion for the time you want the pressure in the water line applied to the coffee before the pump turns on for normal brewing.
This type of pre infusion applies plumb line pressure to the coffee,
which should be limited by a pressure reducer on the plumb connection to between 1 and 2 bar, seven seconds is a good starting point for passive pre-infusion.
ECO mode automatically powers off the machine after a specified period of inactivity.
ECM Synchronika II ECO mode
You set this to activate between 30 and 600 minutes in 10 minute increments, you can also shut off entirely.
Cleaning reminders can be set to prompt you to back flush machine after a specified number of Bruce cycles between 10 and 200 reset reminder resets the counter for both cleaning and filter reminders

ECM Synchronika II: Advanced user settings
Advanced user setting hides or display the following Advanced menu options,
Setting the filter reminder will remind you to replace your in-tank water filter after a number of liters of water brewed between five and 200 times enable,
activates or deactivates the automatic on-off programming schedule,
which is set using a different menu, use the clock set to set the machine’s internal clock.
This time is used for the automatic on-off promising schedule.
Use the schedule to set up to two specific on-off periods daily for each day of the week.
ECM Synchronika II: Tank mode
Tank mode switches a machine from using water from the internal reservoir or the plumbed water line. For details.
Instructions on how to plumb your machine directly to a water line, including installing an in-line water filter.
The temperature unit allows you to set the temperature units to either imperial or metric measurements.
Coffee offset direction adjusts the offset between the actual temperature and the coffee boiler and the calculated brew water temperature at the group.
Notice
Enable Early Head toggles the cartridge heaters in the group head that help the machine heat to grow temperatures in just six and a half minutes.
ECM Synchronika II Adjusting flow rate
The ECM synchronicity can be purchased with a flow control device installed by rotating this valve,
you can increase or decrease the flow of water through the group.
The stock flow rate of 11 grams per second is achieved when the flow control is rotated one and a quarter turns from a closed no no-flow position.
Higher-than-stock flow rates are rarely used.
Low flow can be used to perform an extended pre infusion or follow a flow profile for brewing a specific coffee roast or type.
Coffee offset direction adjusts the offset between the actual temperature and the coffee boiler and the calculated brew water temperature at the group.
How to Set Up ECM Synchronika II: Espresso Machine cleaning and maintenance
Your ECM Synchronika II to be in the best possible condition. It’s essential to keep it clean and well-maintained.
Porta filters, filter baskets in the drip tray, should all be rinsed thoroughly and wiped down after you’re finished using the machine for the day.
Use the included group head cleaning brush to scrub the shower screen,
making sure to get the space around the shower screen where the porta filter locks into place.
Back flushing is required to prevent the buildup of coffee grounds and oils in and around the group head and shower screen to back flush the machine,
install the back flush disc in your portafilter,
lock it into the group head and run the group up for 20 seconds,
remove the porta filter and dump the water into a receptacle.
Repeat this process until you don’t see coffee grounds in the back flush disc,
you should perform water only back flushes after each use of the machine.
You should also back flush using a cafiza detergent once every month or so, depending on how often you brew.
The process is the same, except you begin by putting a small amount of cafiza detergent in the back flush disc before locking it into your porta filter when back flushing with cafiza,
it’s important to make sure you run the pump for at least 20 seconds to ensure the detergent can dissolve properly.
It’s also important to be sure to rinse the detergent out of the machine before brewing with it again.
To do this back flush the machine at least five times with no detergent,
or until the water discharging into your drip tray after running the pump is clear.
We’re an affiliate
We hope you love the products we recommend! Just so you know, we may collect a share of sales or other compensation from the links on this page. Thank you if you use our links, we really appreciate it!


Leave a Reply